Adding Assembly (asm) Files to Visual Studio C/C++ Projects
Step 0
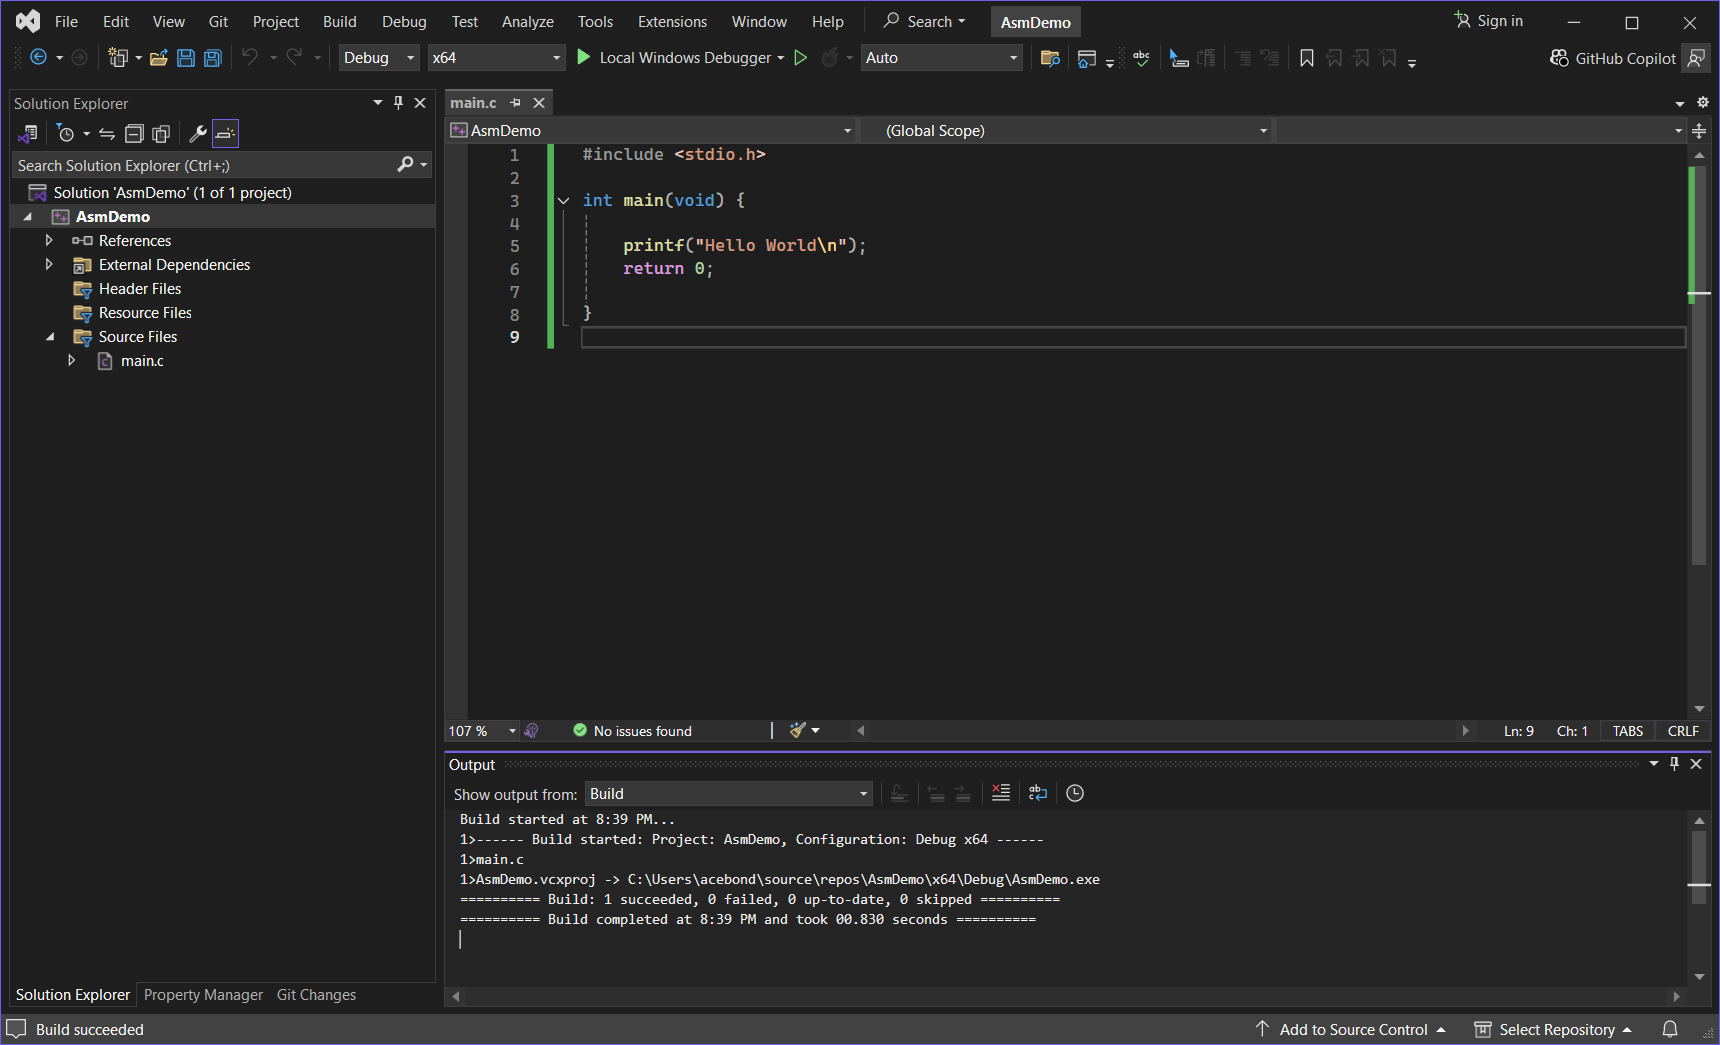
Create a new empty C/C++ project and add some C/C++ source code or open an existing project.
Step 1
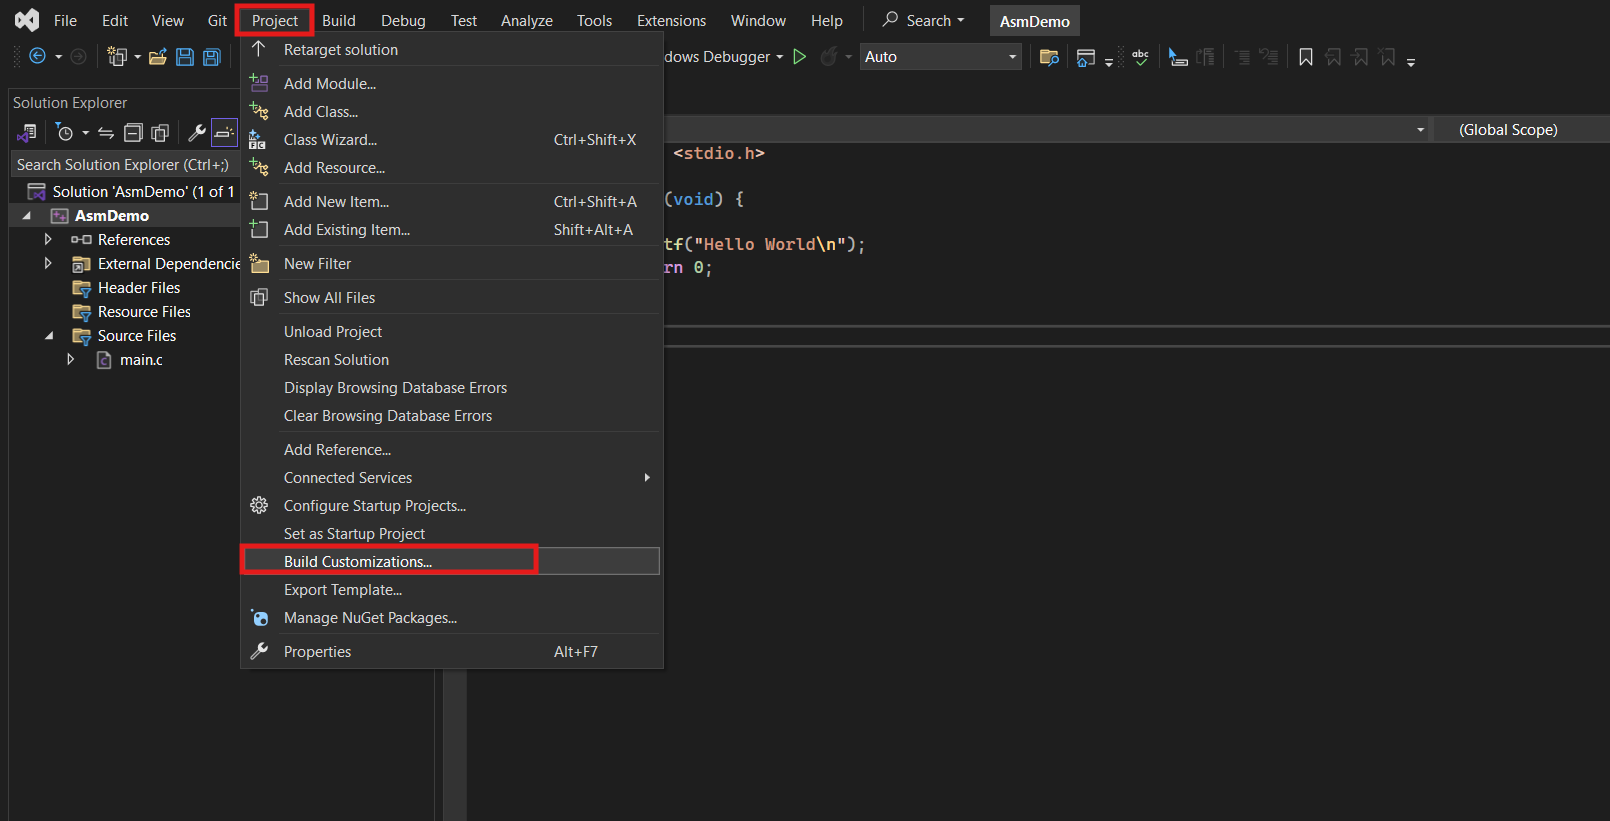
Go Project -> Build Customization...
Step 2
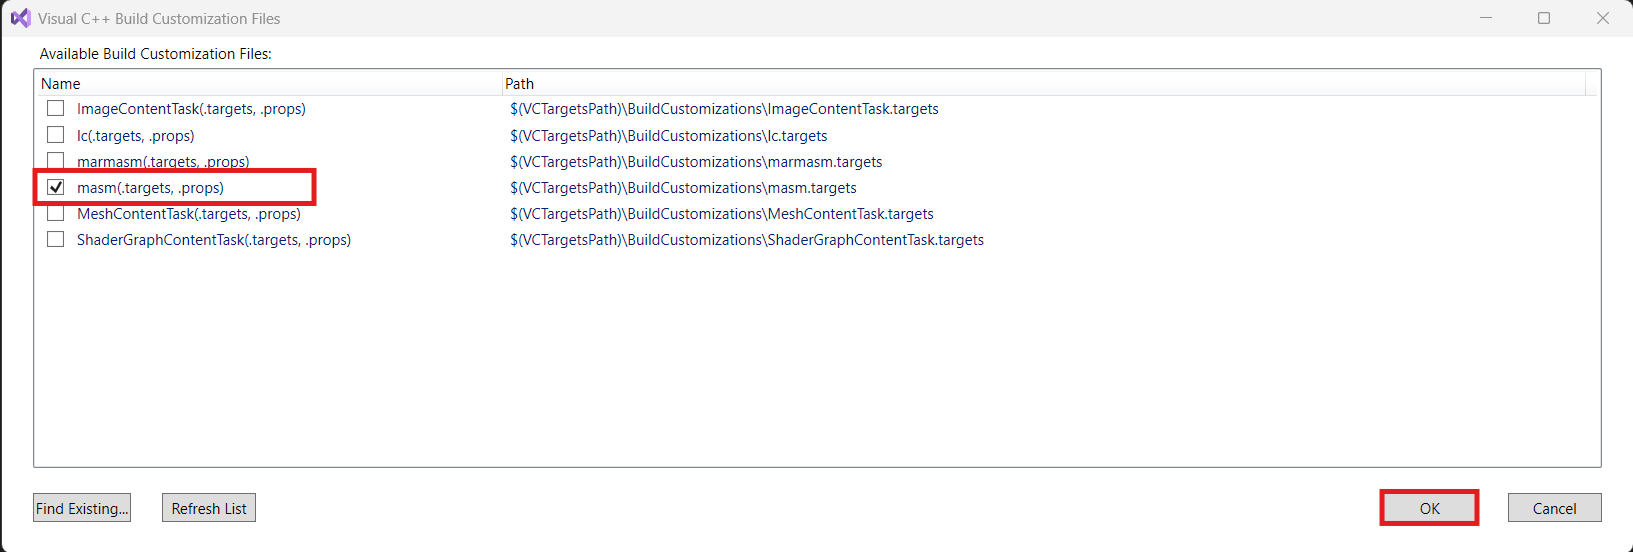
In the Visual C++ Build Customization Files dialog, tick masm(.targets, .props) and click on OK.
Step 3
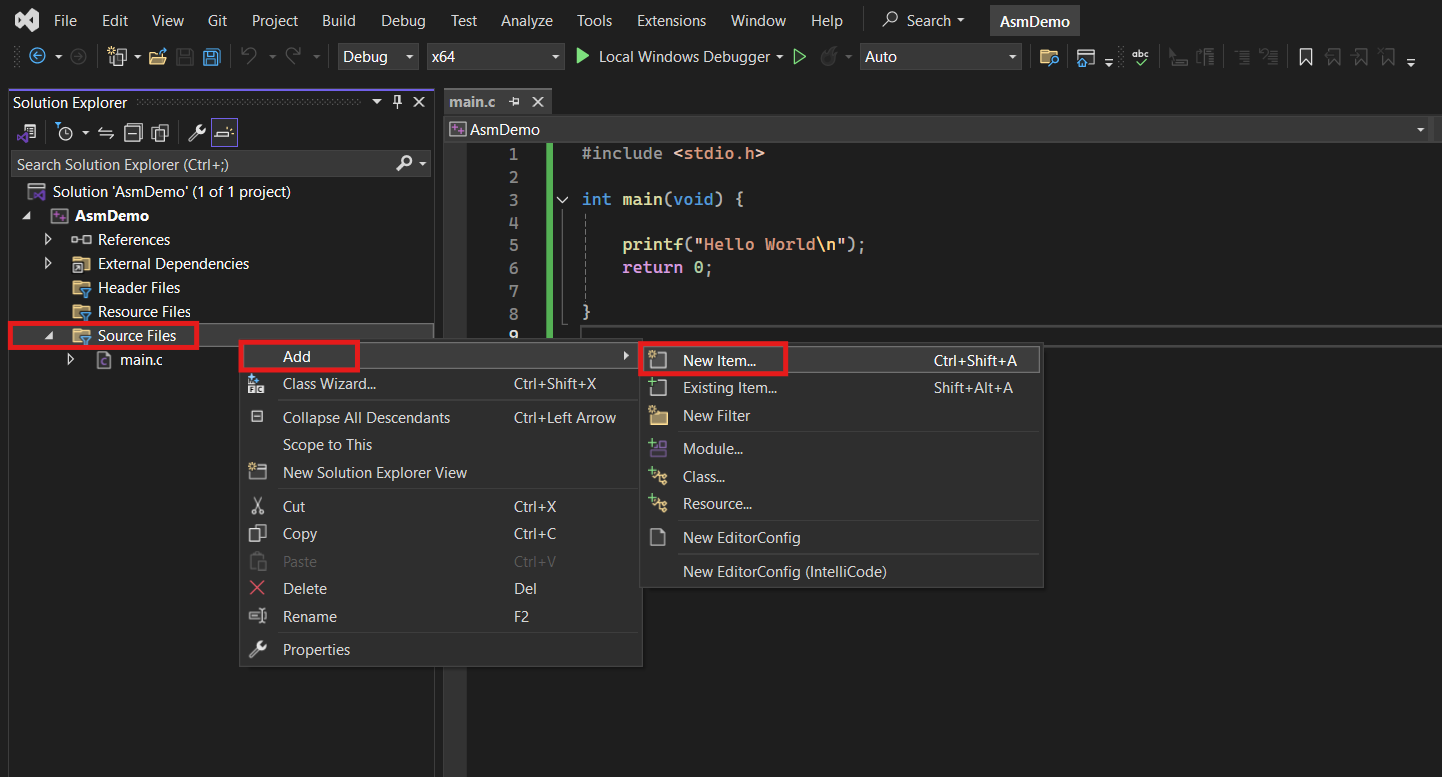
Right click Source Files, choose Add, then New Item...
Step 4
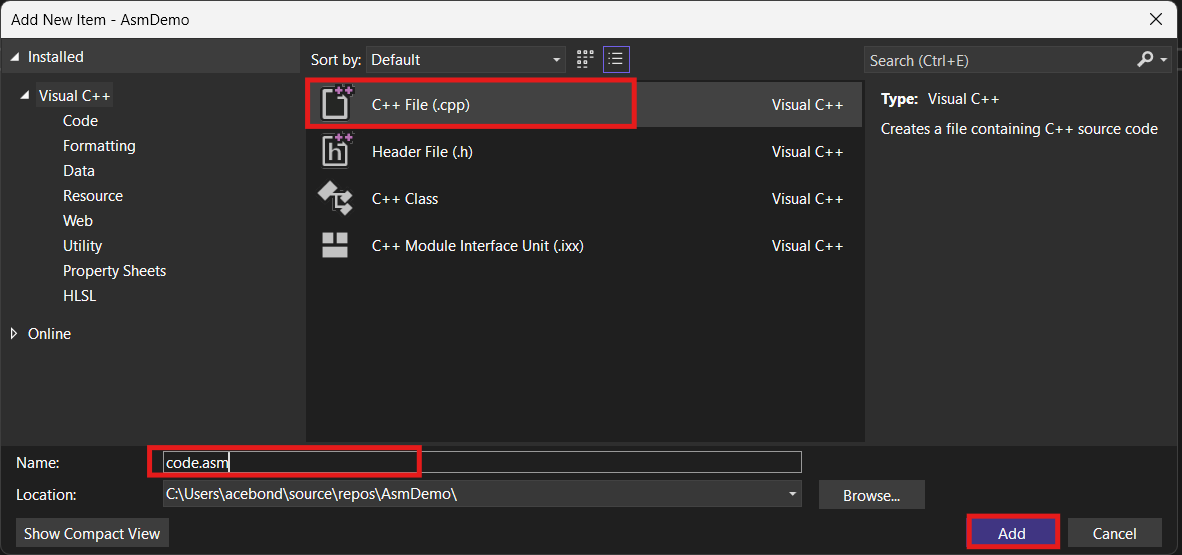
In the Add New Item dialog, select C++ File (.cpp), and name the file with a .asm extension, then click Add.
NOTE: that the .asm extension is important.
Step 5
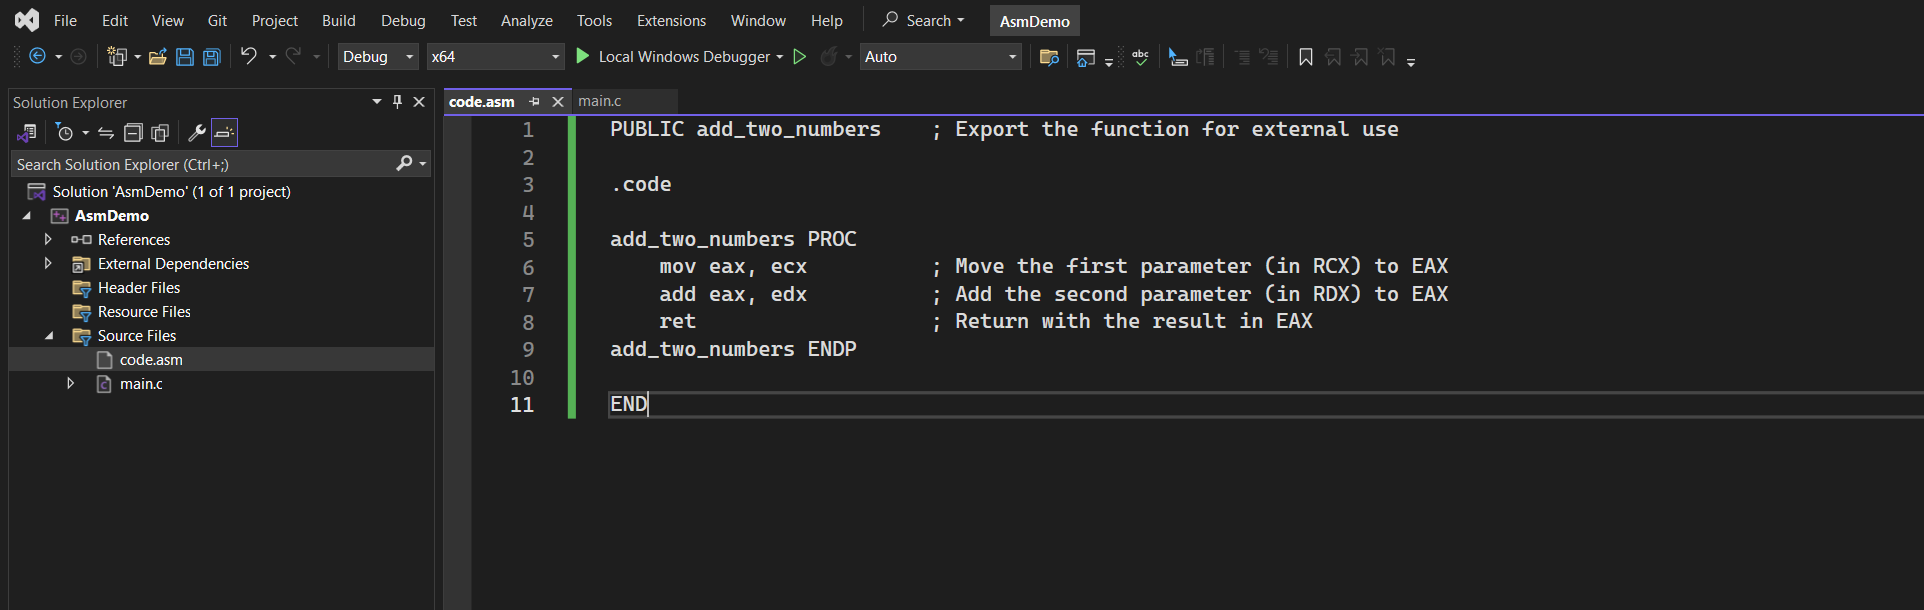
Write some asm code.
Step 6
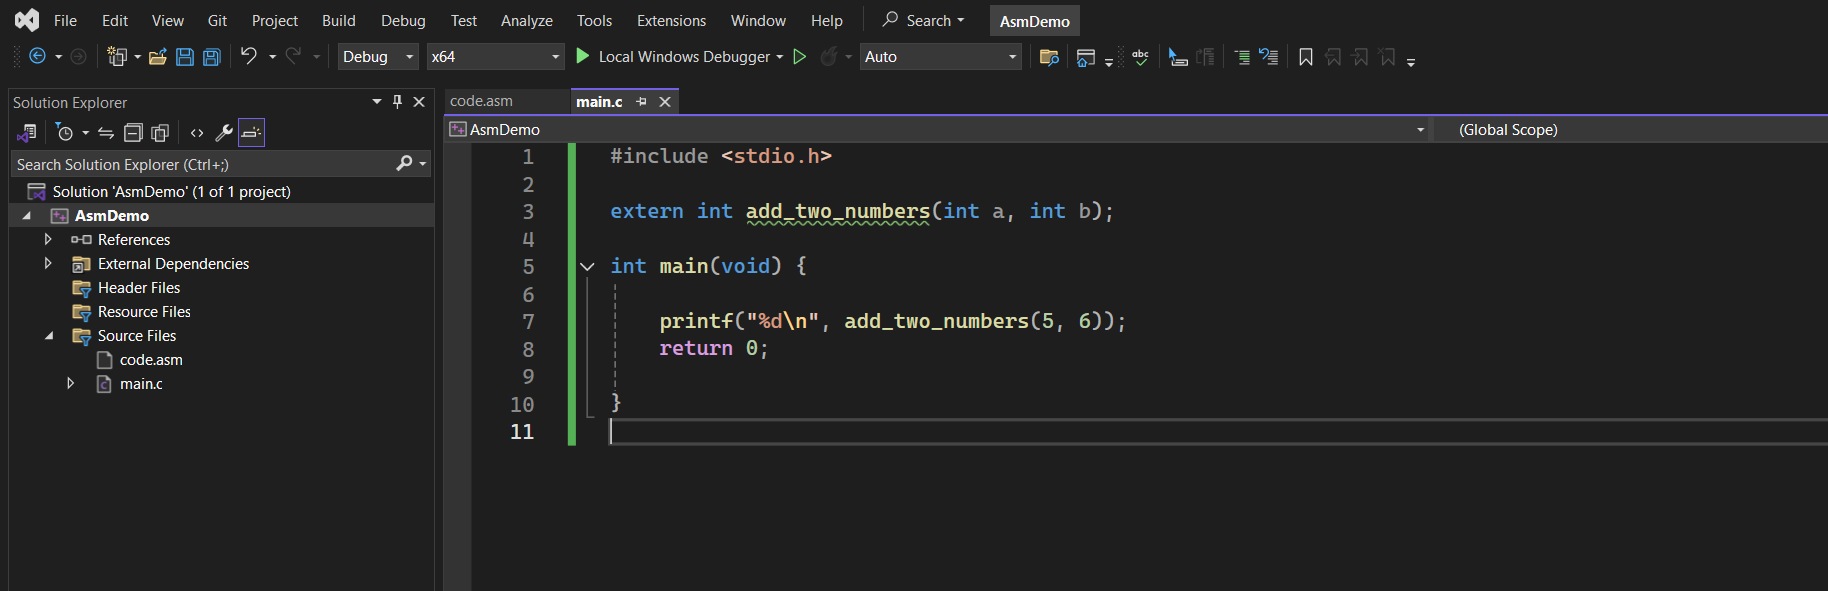
Update main.c to call the new asm function.
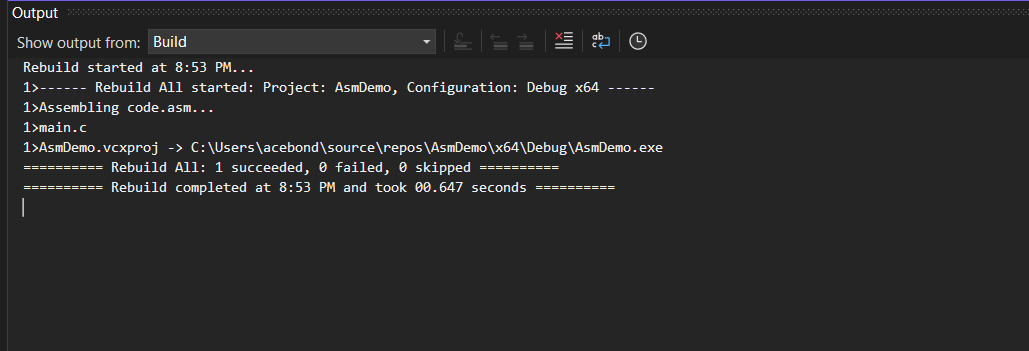
Step 7
Everything should work.
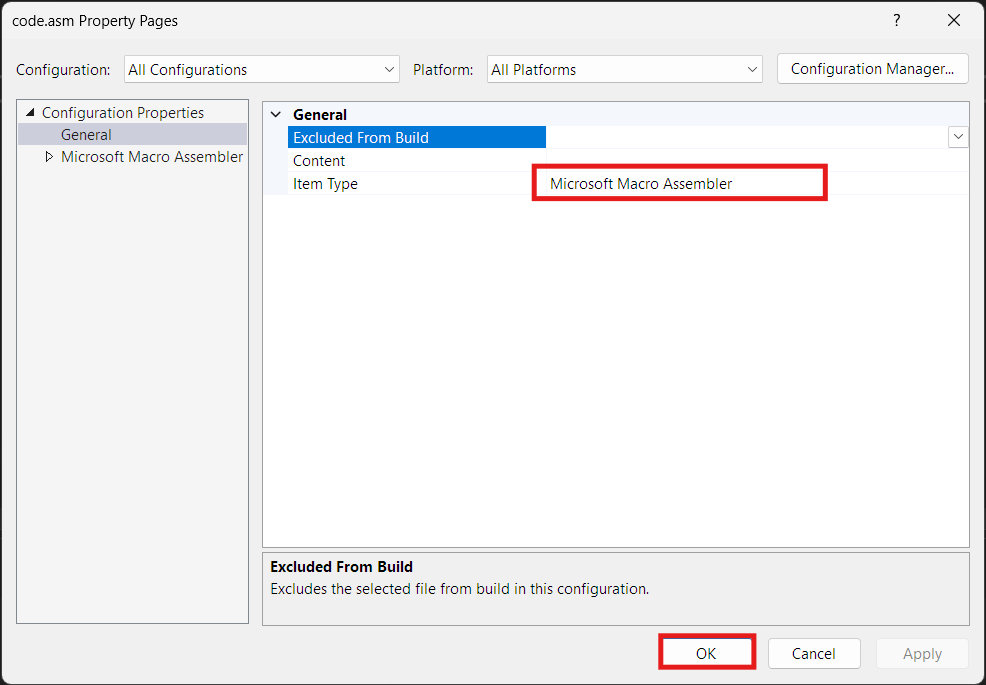
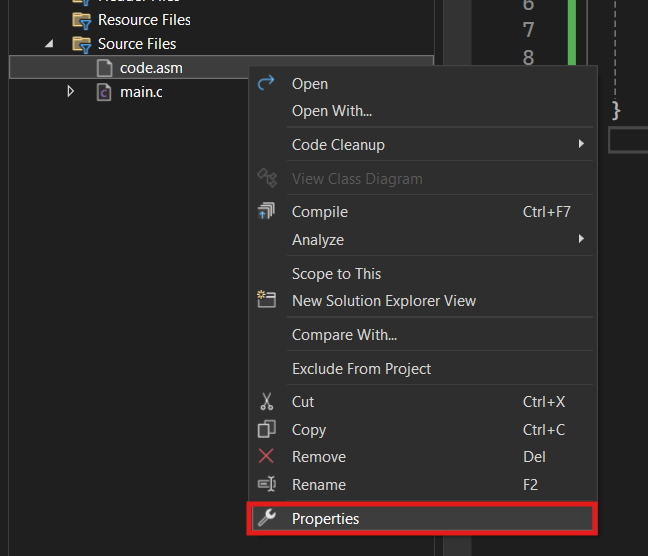
Step 8
If you have issue, check the .asm file by right clicking, and going Properties.
Step 9
In the dialog, ensure Item Type is Microsoft Macro Assembler then click OK.